Roof Inspection Checklist: What Contractors Actually Look For (2026)
Updated for 2026 • Expert-reviewed • Homeowner-focused
Need a professional opinion? Get free quotes from local roofing pros
Compare Free Roofing QuotesWhether you are buying a home, preparing for storm season, or trying to decide if your roof needs repair or replacement, a thorough roof inspection is the starting point. But most homeowners have no idea what inspectors and contractors actually evaluate — which makes it easy to get a vague "your roof looks fine" or a scare-tactic "you need a new roof immediately." This checklist covers every item a thorough professional inspection should include, so you can evaluate the quality of any inspection report you receive and even perform a basic ground-level assessment yourself.
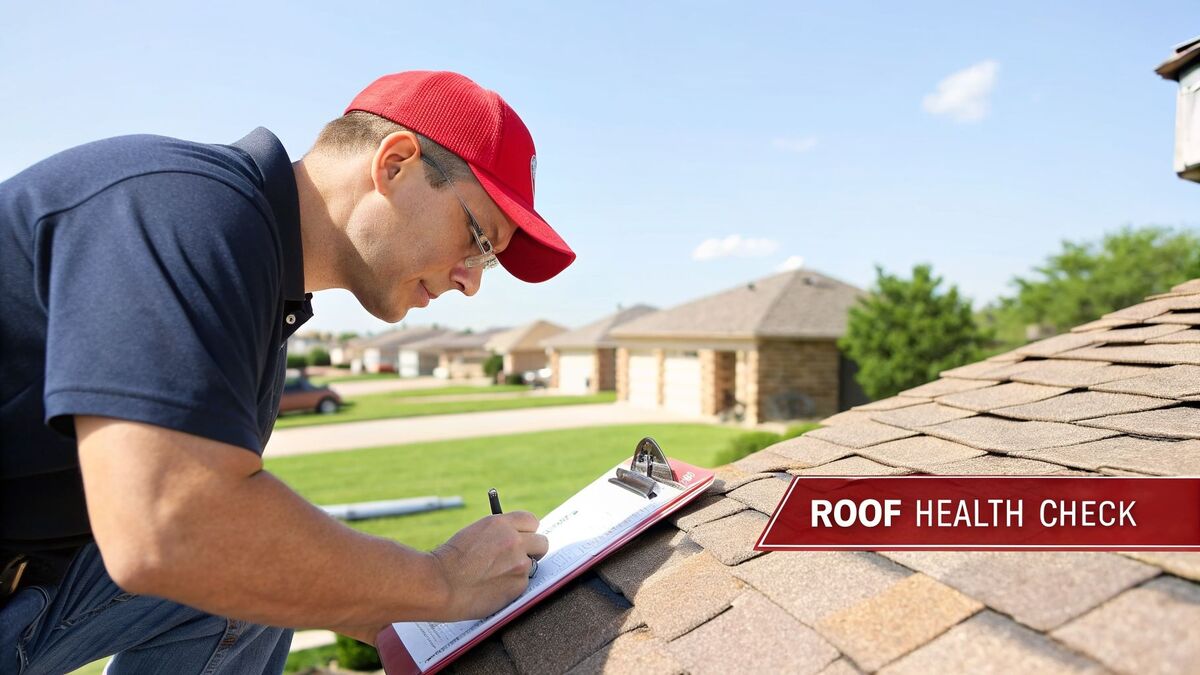
Exterior Inspection: What They Check from the Roof
A proper inspection starts on the roof itself. The inspector should be physically on the roof, not eyeballing it from the driveway. Here is what they examine:
- SHINGLE CONDITION — Looking for curling (edges lifting), cupping (centers sinking), cracking, blistering, and missing shingles. A few damaged shingles are a repair. Widespread damage means replacement.
- GRANULE LOSS — Shingle granules are the UV and weather protection layer. Bare spots, uneven granule coverage, or heavy granule accumulation in gutters indicate the shingles are nearing end of life.
- FLASHING INTEGRITY — Checking every piece of metal flashing: around chimneys, walls, skylights, vents, and in valleys. Looking for rust, lifting, cracked caulk, and gaps. Flashing failure is the single most common cause of roof leaks.
- PIPE BOOTS AND PENETRATIONS — Every plumbing vent, exhaust fan, and other roof penetration has a rubber or lead boot that seals it. Rubber boots crack after 10–15 years and are a frequent leak source.
- RIDGE CAP — The shingles along the peak of the roof take the most wind and weather abuse. Cracked, missing, or lifted ridge cap is common and often the first shingles to fail.
- VALLEY CONDITION — Valleys channel the most water and are high-stress areas. The inspector checks for proper overlap or metal valley flashing, granule erosion, and signs of water channeling.
- NAIL POPS — Nails that have backed out through the shingle surface create direct water entry points. A few nail pops are a quick repair. Widespread nail pops suggest improper nailing during original installation.
- ALGAE AND MOSS — Dark streaks (algae) are cosmetic but indicate moisture retention. Moss growth is more serious — moss roots lift shingle edges and trap moisture underneath.
Structural Assessment: The Bones of Your Roof
Beyond the surface, the inspector evaluates the structural integrity of the roof system:
- SAGGING OR DIPPING — Standing at street level, the roofline should be straight and level. Any sagging between trusses or dipping at the ridge indicates potential structural problems — either in the decking, trusses, or load-bearing walls below.
- DECKING CONDITION — Walking across the roof, soft or spongy areas indicate water-damaged or delaminated decking. This is a strong indicator that replacement is needed, not just new shingles.
- GUTTER ATTACHMENT — Gutters that are pulling away from the fascia board may indicate rotted fascia — a sign that water is getting behind the drip edge.
- FASCIA AND SOFFIT — The boards along the eave edge (fascia) and under the eave overhang (soffit) should be intact, not rotting, warped, or showing paint failure. These components protect the rafter tails and provide ventilation.
- CHIMNEY CONDITION — Cracked mortar, leaning, and damaged crown or cap are common sources of water infiltration that manifest as "roof leaks" but are actually masonry problems.
Attic Inspection: What the Underside Tells You
A thorough roof inspection includes the attic. This is where hidden problems reveal themselves:
- DAYLIGHT PENETRATION — If you can see daylight through the roof boards, water can get in too. Small pinpoints around nails are normal; visible gaps or light around penetrations are not.
- WATER STAINS — Dark stains on rafters, trusses, or decking indicate past or active leaks. Fresh stains are wet or damp to the touch. Old, dried stains with no moisture may indicate a past issue that has been corrected.
- MOLD AND MILDEW — Black or green growth on wood surfaces indicates sustained moisture. This is both a roof problem and a health concern. Mold remediation adds $1,500–$5,000+ to the project if present.
- INSULATION CONDITION — Compressed, wet, or displaced insulation reduces energy efficiency and may indicate roof leaks or condensation issues. Insulation should be evenly distributed and dry.
- VENTILATION — The inspector checks for adequate soffit-to-ridge airflow. Signs of poor ventilation include: extreme heat in summer (130°F+), frost on nail tips in winter, condensation on surfaces, and premature shingle deterioration visible from below.
- DECKING FROM BELOW — Looking at the underside of the roof decking for signs of delamination, sagging between rafters, or water damage that is not visible from above.
Drainage and Gutter System
Water management is a critical part of roof health. The inspection should evaluate:
- GUTTER CONDITION — Looking for rust, holes, sagging sections, and separated joints. Gutters should be securely attached and sloped toward downspouts.
- GRANULE ACCUMULATION — Excessive shingle granules in gutters is one of the clearest indicators of aging shingles. Some granule loss on a new roof is normal for the first year; heavy accumulation on an older roof is a warning sign.
- DOWNSPOUT DRAINAGE — Downspouts should discharge at least 4–6 feet from the foundation. Water pooling near the foundation causes basement leaks and can undermine the structure.
- ICE DAM EVIDENCE — In cold climates, look for staining below the eave line, damaged soffit, or bent gutters — signs of past ice dam formation caused by poor ventilation or insulation.
Your DIY Ground-Level Check (What You Can Spot Yourself)
You don't need to get on the roof to catch warning signs. Here is what you can check from the ground with binoculars:
- Straight roofline — any sagging or waviness is a structural concern
- Consistent shingle color — dark patches or color variation indicates aging or algae
- Missing shingles — visible gaps in the shingle pattern
- Lifted or curled shingle edges — visible from the ground on the roof's edge
- Flashing condition around chimney and walls — look for visible rust, gaps, or lifted metal
- Gutter condition — sagging, overflowing, or visible granule buildup
- Debris in valleys — leaves and branches trap moisture and accelerate deterioration
- Vegetation growth — moss or plants growing on the roof surface indicate serious moisture problems
- If you see 3 or more of these issues, schedule a professional inspection. If your roof is over 15 years old, schedule an inspection regardless — catching problems early saves thousands.
What a Good Inspection Report Looks Like
After the inspection, you should receive a written report (not just a verbal summary) that includes:
- Photos of every area inspected, with annotations pointing out issues
- Current condition rating for each major component (shingles, flashing, decking, ventilation, drainage)
- Estimated remaining useful life of the current roof
- Immediate repairs needed (if any) with estimated costs
- Recommended maintenance to extend roof life
- Whether replacement is recommended and, if so, the urgency level (immediate, within 1–2 years, within 3–5 years)
- If the inspector only gives you a verbal "you need a new roof" with no documentation, get a second opinion. A thorough inspection produces evidence.
How Often Should You Get a Roof Inspection?
The general guideline is every 3–5 years for roofs under 15 years old, and annually for roofs over 15 years old. Additionally, schedule an inspection after any major weather event (hail, high winds, heavy snowfall) and before buying or selling a home. Many contractors offer free inspections as part of their sales process — this is fine as long as you get 2–3 opinions and don't feel pressured into immediate work. Independent home inspectors ($200–$400 for a roof inspection) provide unbiased assessments since they don't sell roofing work.
Ready to Get Real Quotes?
Compare Free Roofing Quotes Near YouKey Takeaways
- A proper inspection includes the roof surface, attic, and drainage system — not just a glance from the ground
- Flashing, pipe boots, and ventilation problems cause more leaks than shingle failure
- The attic reveals hidden damage: water stains, mold, poor ventilation, and daylight penetration
- You can spot warning signs from the ground with binoculars — sagging, missing shingles, and gutter issues
- Demand a written report with photos — never accept a verbal-only assessment
Frequently Asked Questions
Get Free Quotes from Local Roofing Pros
Compare estimates, warranties, and timelines from contractors in your area. 100% free and no obligation.
100% Free Service
No hidden fees for homeowners.
Local Matching
We connect you with contractors in your ZIP code area.
Better Pricing
Comparing bids can save you 15-25% on your total project cost.